
Microsoft has released a Start Menu troubleshooter for Windows 10 that will automatically troubleshoot and try to fix the issues in your Start Menu.
This tutorial will guide you in installing and using the Start Menu Troubleshooter allowing you to automatically fix the Start Menu problems in your Windows 10.
- Download the Start Menu Troubleshooter ZIP file released by Microsoft
- Save the zip file to your desktop
- Unblock the zip file by Right Click > Properties > Unblock > OK
- Open the zip file to extract (drag and drop) the startmenu.diagcab file on Desktop
- Run the startmenu.diagcab file by double-clicking it
- Click/tap on the Advanced link in the Start Menu Troubleshooter.
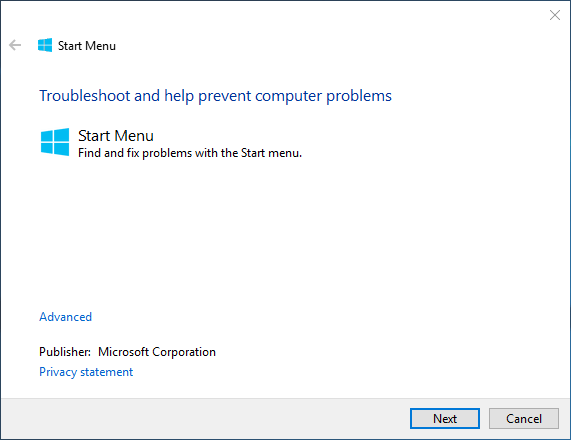
- Check the Apply repairs automatically box, and click/tap on Next.

- The Start Menu Troubleshooter will now scan for problems in the Start menu.
The Start Menu Troubleshooter will check for the following:- Whether Start Menu and Cortana Apps are installed correctly
- Issues with Tile database corruption
- Application Manifest corruption issues
- Registry Key permission issues

- If the troubleshooter finds any problems, it will try to fix them automatically. Once done, you can click/tap on View detailed information. This will show the troubleshooting report.


- When finished, you can close the Start menu troubleshooter and restart Windows to see if the problem got resolved or not.
If the problem still persists, have a look at this post:
Fix for Start Menu and Taskbar Icons Not Working in Windows 10 Post Update to 1903
1 thought on “Start Menu Troubleshooter in Windows 10”